Back in August I found the YZ’s engine needed “a bit of attention”. Its taken a bit longer to get back to it than I’d hoped, partly due to building work but I can now complete the story. I stripped the bottom end down and concluded the easiest way forward was to buy a complete new crank shaft. This was slightly more expensive than just a conrod kit however it meant I didn’t need to press in the new rod and rebalance the crank, both things I could probably do but would need to buy/make tooling for. Luckily the wear on the top end was to the piston, the barrel looked fine. Bottom and top end kits were therefore duly ordered and turned up.
I started to reassemble the engine only to find the replacement crank was right, apart from the taper and thread on the ignition side. It had an M10 thread, I needed an M12 for my ignition. The bike is a 2002 model, the engine is a 2002 engine however it appears to have a 2003 crankshaft. This is probably due to the aftermarket alternator and weight. I ended up deciding to get another 2003 model crankshaft.
Since I was doing a complete overhaul I put new main bearings and seals in:
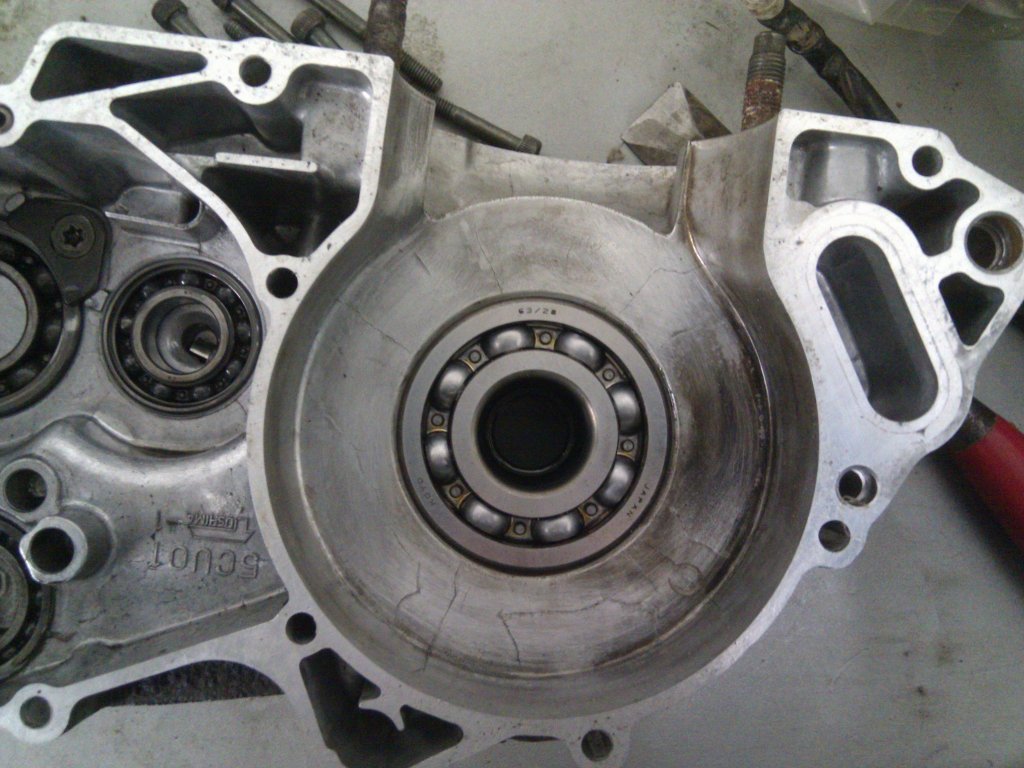
The photo shows some scary looking “cracks” in the casings although every two stroke I’ve ever rebuild looks like this to some degree so I’m doing my best to ignore them.

One nice feature of modern Japanese engines is the gearbox stays as one lump. Trying to put those back together and getting all the thrust washers in the right places is “fun”.
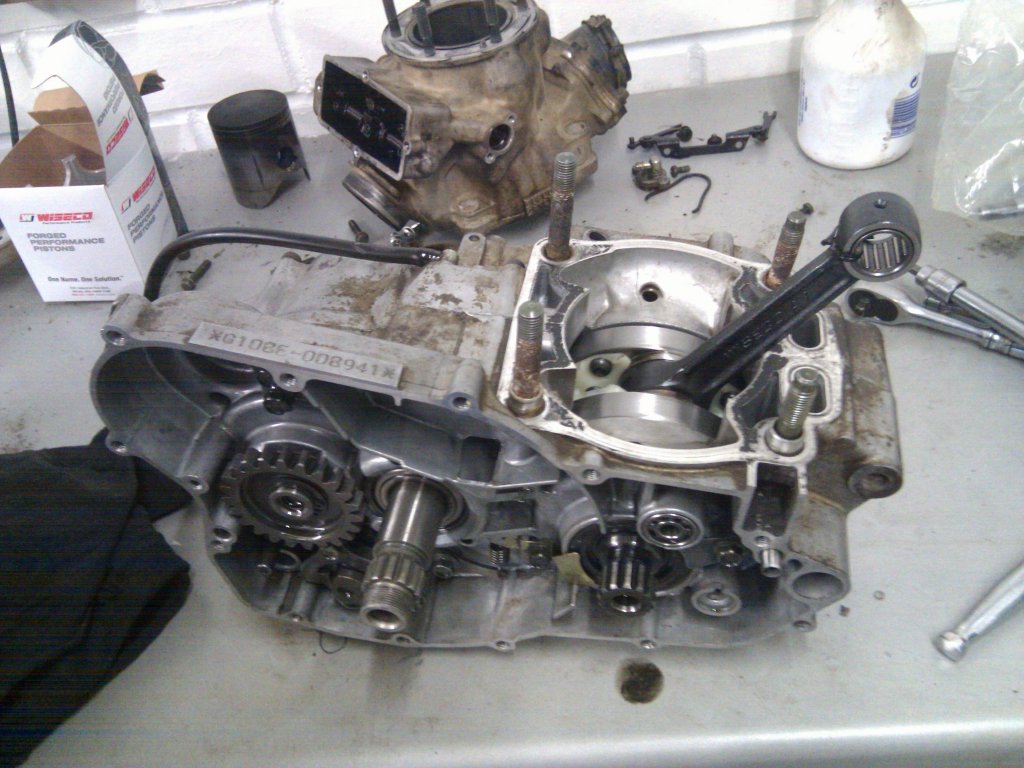
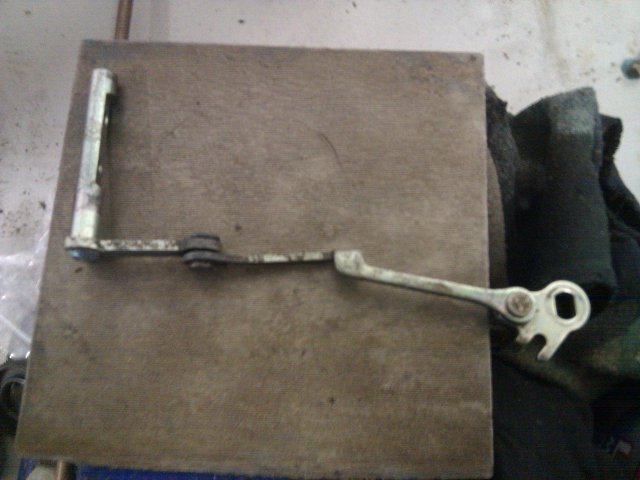
The crankshaft installed and casings mated back together. Of course life isn’t simple and whilst taking the engine apart, I found the likely cause of the scary sounding rattle. A worn power valve linkage. The part looks like this:
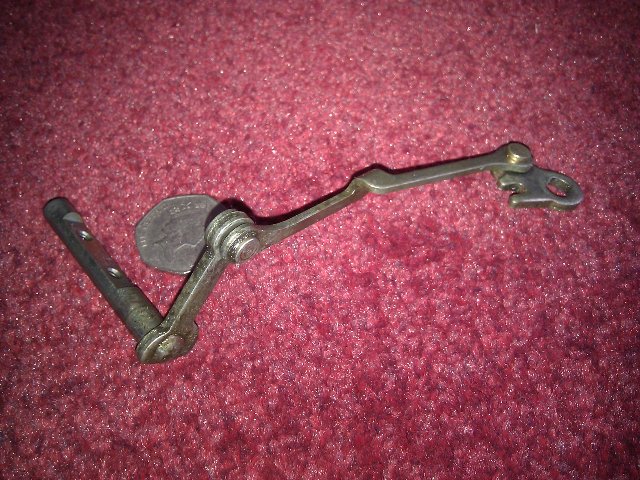
and the wear is in the first joint next to the coin in the photo. Its very hard to photograph “play” however this gives a better idea, after I’ve ground off the weld and separated the joint:
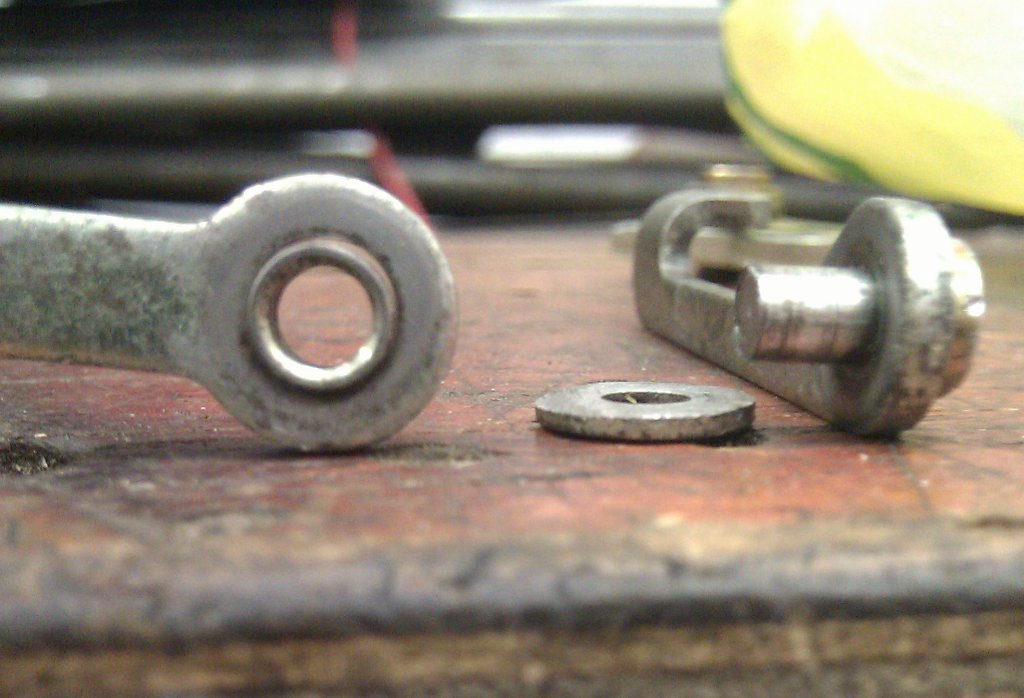
You shouldn’t be able to see light through there! Yamaha wanted a sum of money I considered excessive for this part so I decided I’d have a go at a home “oversize rebore” repair. This means drilling the hole in the outer piece larger (to make it square) and then machining a new oversize internally collar/bearing. The only lathe available to me was a little bit overkill for the job, weighing in at about 3.5tons:

however I did manage to get it to machine something that small, just about anyway:
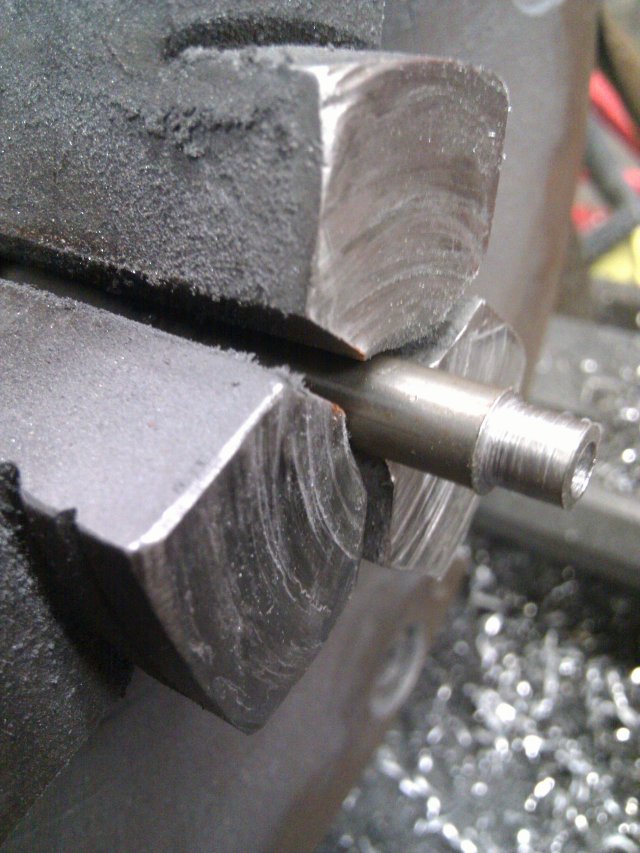
Its hard to tell any difference from the final part however it has much less play:
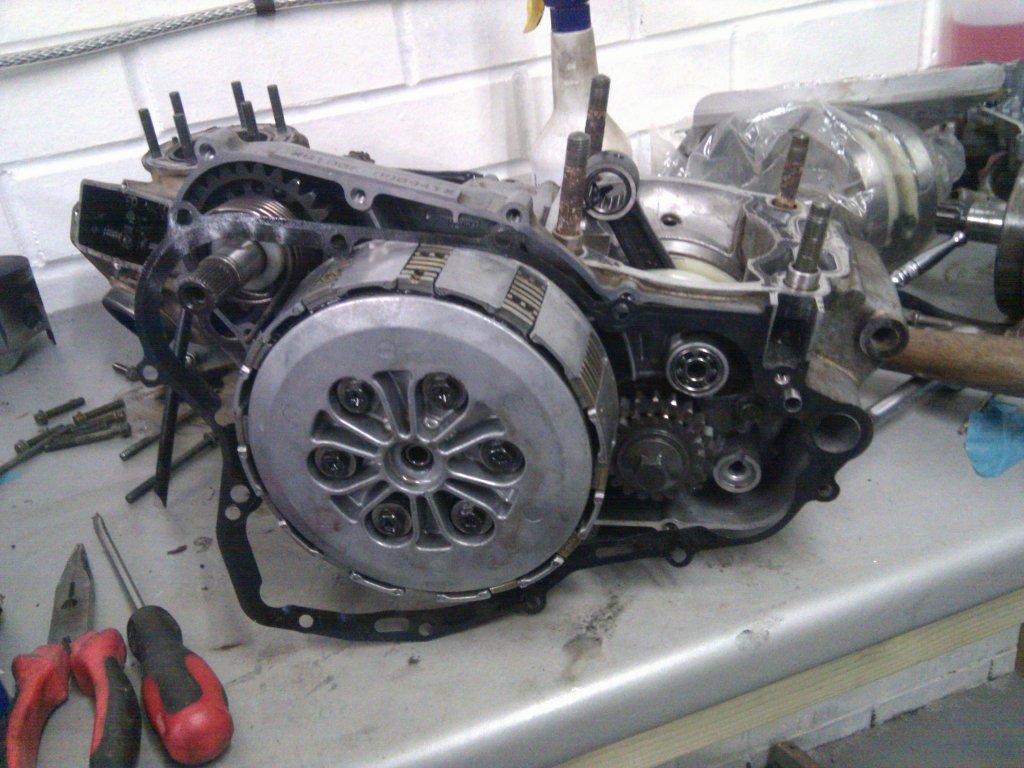
After putting the crankshaft in and mating the cases, the clutch basket, plates and primary drive gear on the RHS of the engine can be installed:
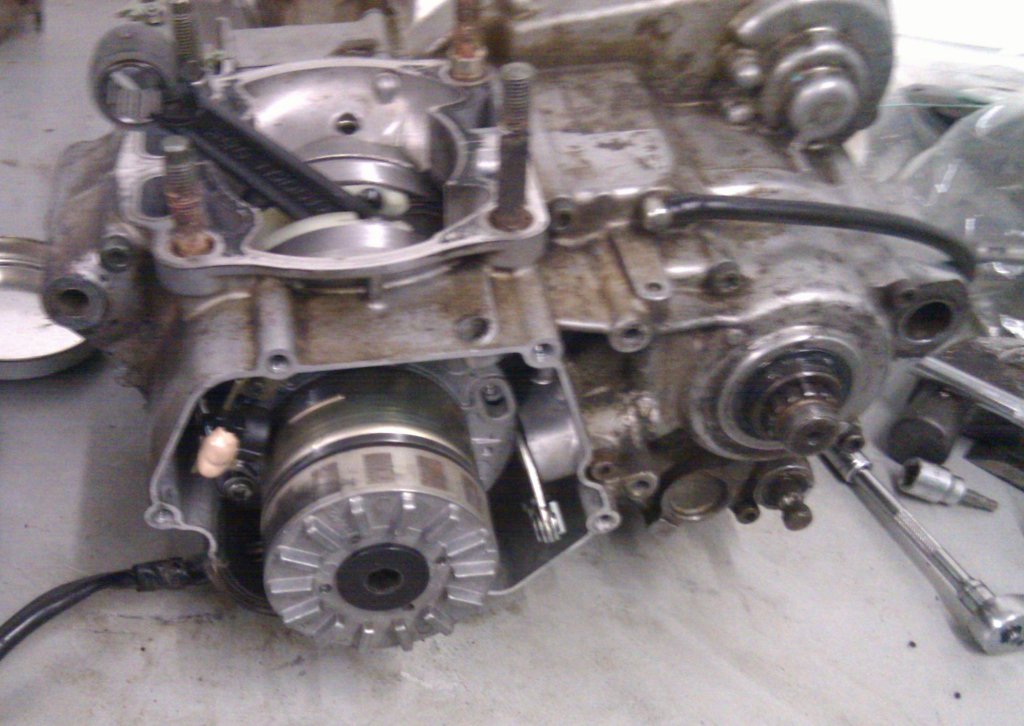
A view of the ignition side of the engine showing the ignition and aftermarket flywheel weight in situ:
The clutch casing/cover can now be installed and the lovely new shiny piston can be connected to the conrod. You can see the power value linkage on the bottom left of the green base gasket. It sits in the clutch cover where there are spinning weights which control the power values depending on engine speed. The main bearings, both ends of the con ron, piston and rings were all liberally coated with two stroke oil as it was assembled.
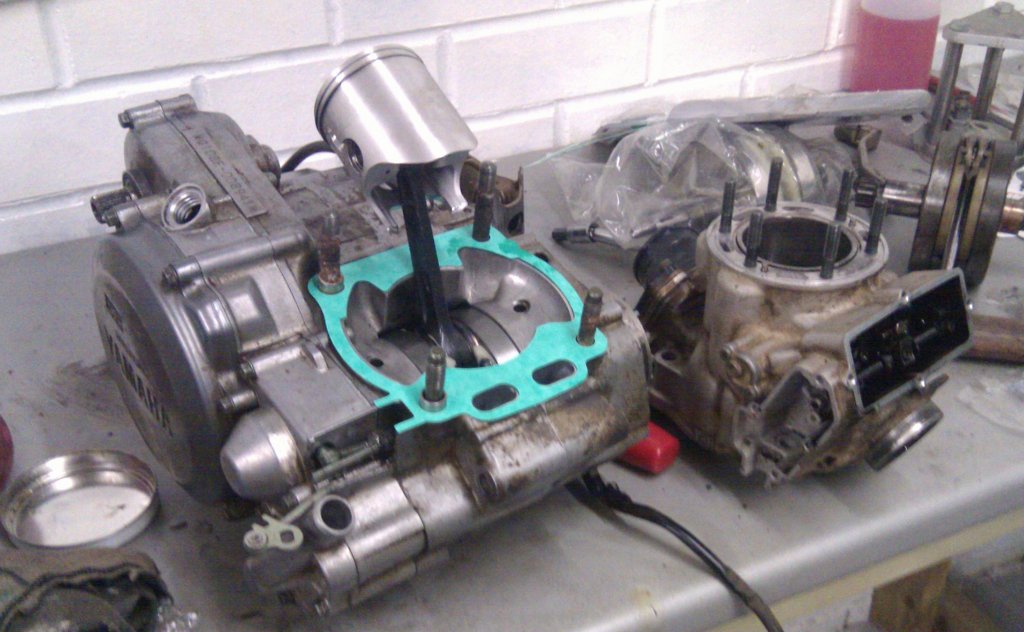
Sadly it won’t look this shiny for long. You get a good idea of what the ports in a two stroke engine look like from this view:

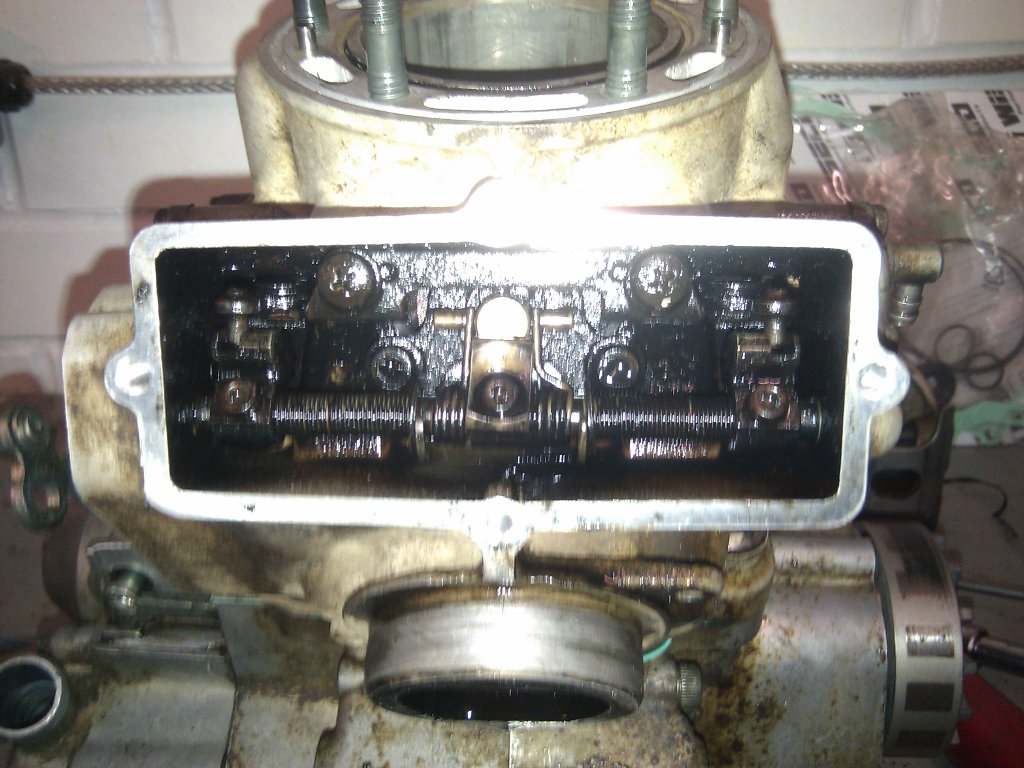
A view of the power value chamber on the front of the cylinder. The repaired power value linkage rod connects to the end of the shaft on the left of the photo, turning it to different positions depending on engine rpm. The YZ has three power values, a main one on the centre exhaust port actuated by the springs in the centre and two secondary ports on the sides which are actuated by the cams and levers at the sides of the chamber. This was the only point throughout the rebuild I consulted the manual about since I’ve never actually tried to set up power valves before. The manual was a bit vague so I did what seemed right…
After all the access covers are installed, the engine is then complete. You can see the power value chamber on the front with the chamber on the side covering the repaired linkage. The cylinder head has also been installed.

All that is left is to fit it back into the bike. It took less time than I thought to do so and I’m pleased to report that whilst it didn’t start first kick, it did fire up pretty readily and whilst I didn’t run it for long, it sounds much happier!